男に生まれたなら、
たまには女になりたいって思いますよね。
ということで、
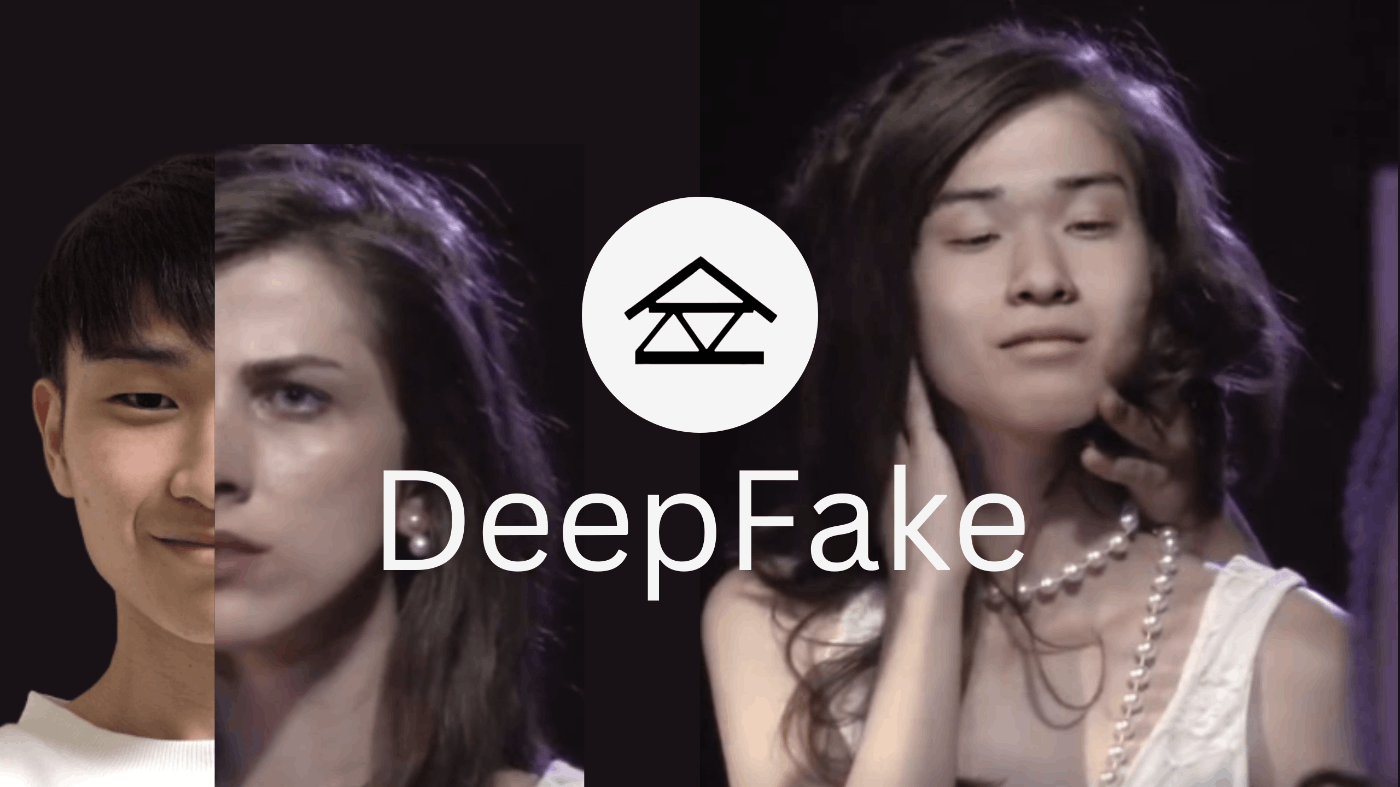
今回はPyTorchを使って、DeepFakeで
CEOを女体化するAIをつくります。
DeepFakeは肖像権の問題など
法的には危ないので注意してくださいね。
くれぐれもアダルトなビデオに人気女優の顔を貼り付けるような
悪徳ビジネスはしないようにお願いいたします。
準備するもの
- CEO
- 女体(女性の動画)
- Google Colaboratory GPU環境(※Jupyter NotebookでもOK)
- 配布ソースコード(※一からやりたい方は不要)
CEOを女体化
NVIDIA GPUとCUDAのバージョンを確認します。
!nvidia-smi
!nvcc --versionsber-swapというDeepFakeツール、モデルをもろもろインストールします。
!git clone https://github.com/sberbank-ai/sber-swap.git
%cd sber-swap
!wget -P ./arcface_model https://github.com/sberbank-ai/sber-swap/releases/download/arcface/backbone.pth
!wget -P ./arcface_model https://github.com/sberbank-ai/sber-swap/releases/download/arcface/iresnet.py
!wget -P ./insightface_func/models/antelope https://github.com/sberbank-ai/sber-swap/releases/download/antelope/glintr100.onnx
!wget -P ./insightface_func/models/antelope https://github.com/sberbank-ai/sber-swap/releases/download/antelope/scrfd_10g_bnkps.onnx
!wget -P ./weights https://github.com/sberbank-ai/sber-swap/releases/download/sber-swap-v2.0/G_unet_2blocks.pth
!wget -P ./weights https://github.com/sberbank-ai/sber-swap/releases/download/super-res/10_net_G.pth
ライブラリをインストールします。
!pip install mxnet-cu101mkl
!pip install onnxruntime-gpu==1.8
!pip install insightface==0.2.1
!pip install kornia==0.5.4
インポートします。
import cv2
import torch
import time
import os
import matplotlib.pyplot as plt

from IPython.display import HTML
from base64 import b64encode

from utils.inference.image_processing import crop_face, get_final_image, show_images
from utils.inference.video_processing import read_video, get_target, get_final_video, add_audio_from_another_video, face_enhancement
from utils.inference.core import model_inference

from network.AEI_Net import AEI_Net
from coordinate_reg.image_infer import Handler
from insightface_func.i import Face_detect_crop
from arcface_model.iresnet import iresnet100
from models.pix2pix_model import Pix2PixModel
from models.config_sr import TestOptions
モデルをつくります。
app = Face_detect_crop(name='antelope', root='./insightface_func/models')
app.prepare(ctx_id= 0, det_thresh=0.6, det_size=(640,640))

G = AEI_Net(backbone='unet', num_blocks=2, c_id=512)
G.eval()
G.load_state_dict(torch.load('weights/G_unet_2blocks.pth', map_location=torch.device('cpu')))
G = G.cuda()
G = G.half()

netArc = iresnet100(fp16=False)
netArc.load_state_dict(torch.load('arcface_model/backbone.pth'))
netArc=netArc.cuda()
netArc.eval()

handler = Handler('./coordinate_reg/model/2d106det', 0, ctx_id=0, det_size=640)

use_sr = True
if use_sr:
    os.environ['CUDA_VISIBLE_DEVICES'] = '0'
    torch.backends.cudnn.benchmark = True
    opt = TestOptions()
    model = Pix2PixModel(opt)
    model.netG.train()
画像と動画をアップロードします。
今回はtarget_type(完成形)をビデオにしています。


| 変数名 | パス |
|---|---|
| source_path | CEOの画像のパス |
| target_path | (画像変換を行う場合)女性の画像のパス |
| path_to_video | 女性の動画のパス |
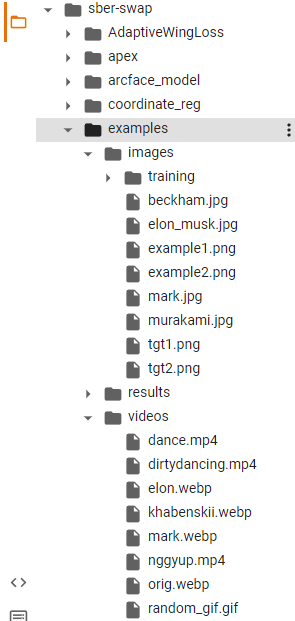
画像や動画はgoogle colabのここに格納します。

ちなみに、
フリーの画像や動画はpixabayなどからダウンロードできます。
target_type = 'video'

source_path = 'examples/images/jin.png'
target_path = 'examples/images/woman.png'
path_to_video = 'examples/videos/woman.mp4'

source_full = cv2.imread(source_path)
OUT_VIDEO_NAME = "examples/results/result.mp4"
crop_size = 224

try:
    source = crop_face(source_full, app, crop_size)[0]
    source = [source[:, :, ::-1]]
    print("Everything is ok!")
except TypeError:
    print("Bad source images")

if target_type == 'image':
    target_full = cv2.imread(target_path)
    full_frames = [target_full]
else:
    full_frames, fps = read_video(path_to_video)
target = get_target(full_frames, app, crop_size)
モデルを推論しましょう。
batch_size = 40

START_TIME = time.time()

final_frames_list, crop_frames_list, full_frames, tfm_array_list = model_inference(
    full_frames,
    source,
    target,
    netArc,
    G,
    app,
    set_target = False,
    crop_size=crop_size,
    BS=batch_size
)

if use_sr:
  final_frames_list = face_enhancement(final_frames_list, model)

if target_type == 'video':
  get_final_video(
      final_frames_list,
      crop_frames_list,
      full_frames,
      tfm_array_list,
      OUT_VIDEO_NAME,
      fps,
      handler
  )

  add_audio_from_another_video(path_to_video, OUT_VIDEO_NAME, "audio")

  print(f'Full pipeline took {time.time() - START_TIME}')
  print(f"Video saved with path {OUT_VIDEO_NAME}")
else:
  result = get_final_image(
      final_frames_list,
      crop_frames_list,
      full_frames[0],
      tfm_array_list,
      handler
  )
  cv2.imwrite('examples/results/result.png', result)
表示しましょう。
if target_type == 'image':
  show_images(
      [
          source[0][:,:,::-1],
          target_full,
          result
      ],
      [
          'Source Image',
          'Target Image',
          'Swapped Image'
      ],
      figsize=(20, 15)
  )
else:
  video_file = open(OUT_VIDEO_NAME, "r+b").read()
  video_url = f"data:video/mp4;base64,{b64encode(video_file).decode()}"

  HTML(f"""<video width={800} controls><source src="{video_url}"></video>""")
先ほどの動画が出力されました。
このように出力されます。(※sber-swap公式参照)

結論
気持ち悪い。
ディープテックのマガジンはこちら『DeepMagazine』